


Other possible titles for this blog post included Chalk Paint for Beginners or Chalk Paint for Preggo in the Third Trimester…all three descriptors accurately reflect me at the present time, however I’m pretty much always a slacker when it comes to DIY projects.

Which is why Chalk Paint has always been so appealing.
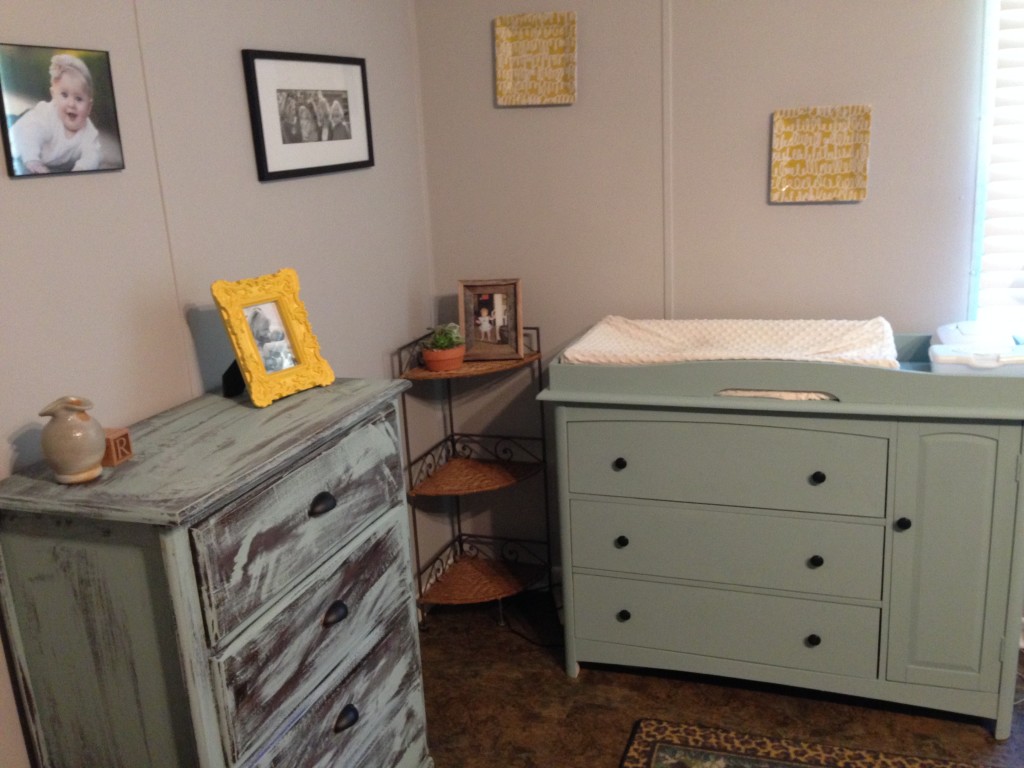
Ever since a friend discovered it years ago and redid her bedroom set from in the 80s in a day with ease and amazing results, I have wanted to try it myself. I have PLENTY of pieces that could use a paint job. But it was the changing table I recently salvaged (and a baby on the way) that was the motivator to finally give it a try.
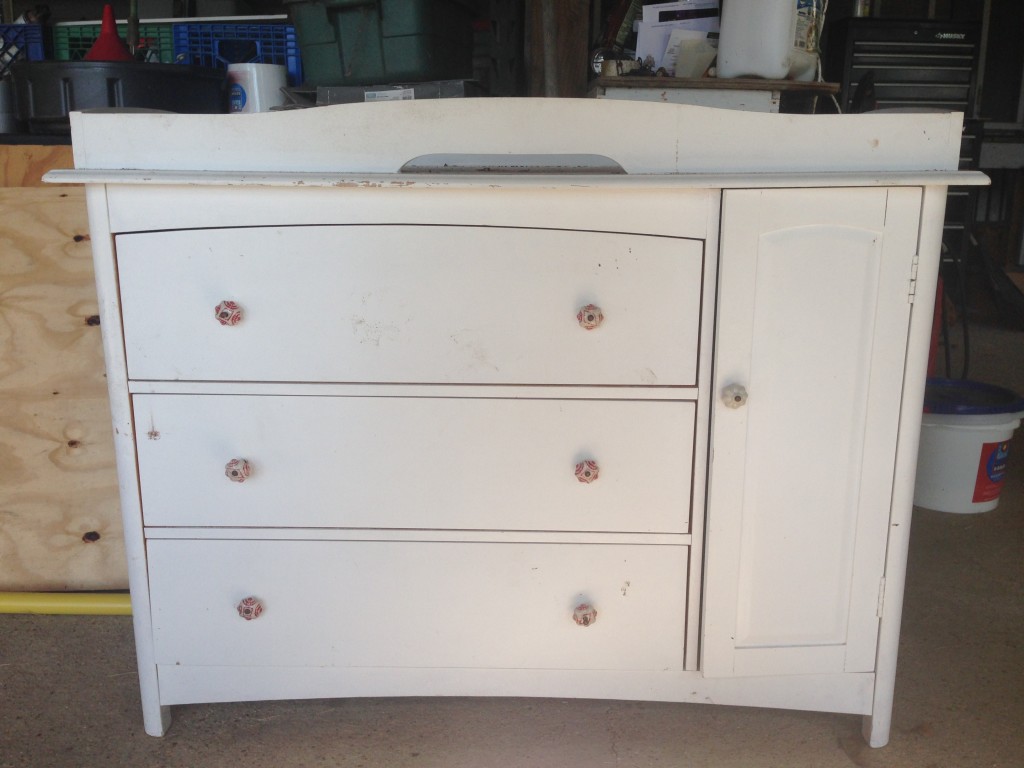
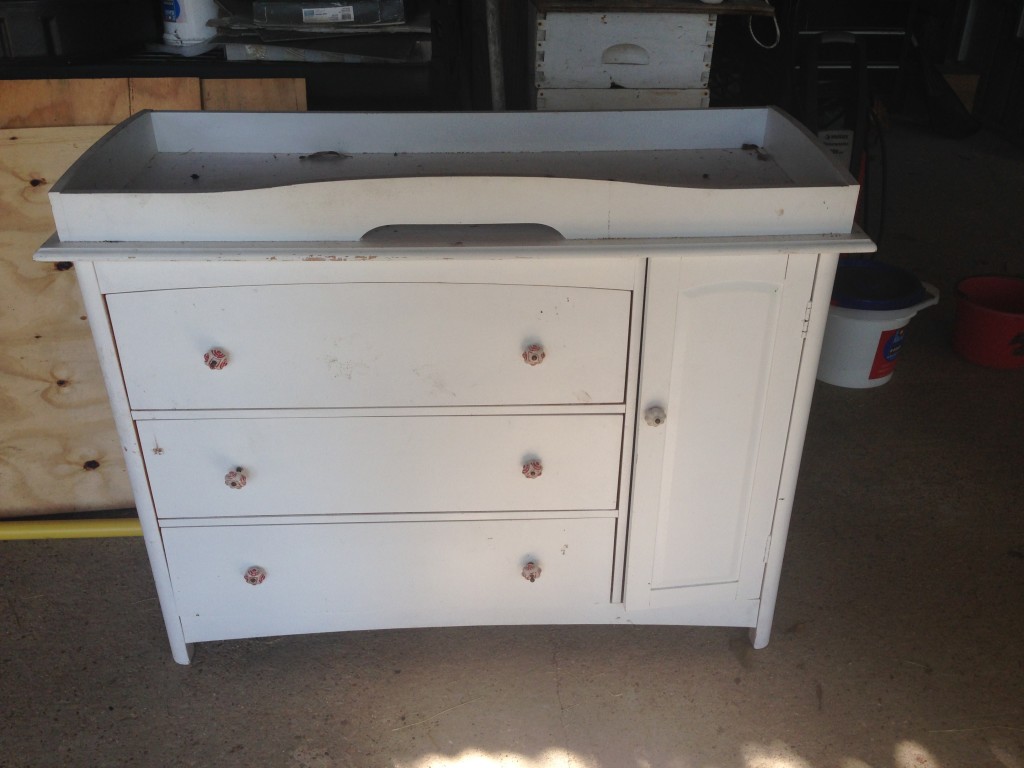
My friend was about to put this changing table on the side of the road, but she offered it to me first. I gladly accepted, as I liked the length of the table and I particularly loved the drawers – great storage for cloth diapers! It definitely needed some work though. There was a gaping hole in the backing, so we replaced that as well as a few other repairs thanks to my handy husband; got new knobs (from Home Depot) and some Chalk Paint. I also took the opportunity to finally paint a hideous dresser that we got on Craig’s List for next to nothing years ago that is now used by my daughter.
If you’re unfamiliar, Chalk Paint (not to be confused with black chalkboard paint) was developed by Annie Sloan in 1990. Many “off-brand” forms of Chalk Paint now exist, and you can even make your own, but Annie Sloan is the original creator. It is thicker than normal latex paint, hence a little goes a long way. But the real benefit and fun of using a chalk-finish paint is that it requires no preparation like sanding or priming…truly! You just put the stuff on right away, no matter the finish on the piece of furniture.
Although there are plenty of recipes on Pinterest for making your own chalk-finish paint, I decided to go with the gold standard and spend the money on Annie Sloan’s Chalk Paint, which ran me $40 at a local store. Not cheap, but I figured it would be wise to utilize the original for my first try so that if I decide to make my own one day, I can compare results and see whether buying the brand makes a significant difference. I went with her Duck Egg Blue for my two pieces.
Before we get down to business, let me just say that I did zero research on techniques, I did not watch the thousands of YouTube tutorials available…I really just went for it. I also did not apply the Annie Sloan Clear Soft Wax that is recommended after painting. I used whatever paint brushes we had at our house; nothing fancy or sophisticated. Slacker all the way.
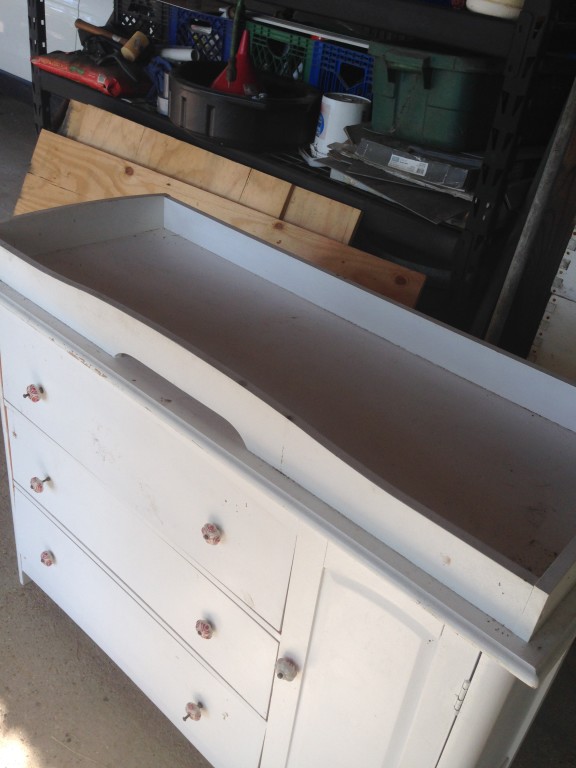
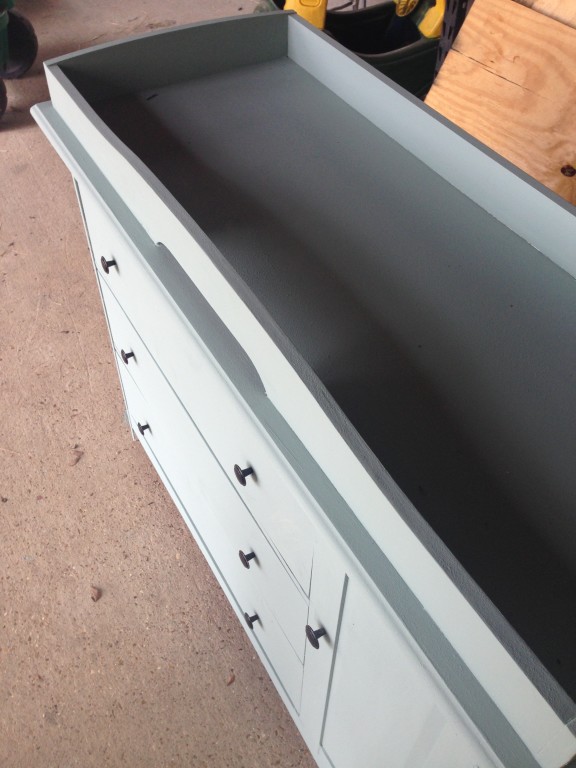
Let’s begin with the changing table. My daughter (who is 2) was super excited about painting furniture (I did not see that one coming), so since this was more an experiment than anything, I gladly let her join in on the fun. Her brush strokes were amazing….and by amazing, I mean terrible, but she had a great time. And, the paint was so thick and covered so well that I was able to hide the flaws without a problem. One thing someone did tell me was not to be too thick with your brush strokes…you can always add more coats later if you want to. And it’s really quick drying. We did two coats, and here was the result:
BEFORE
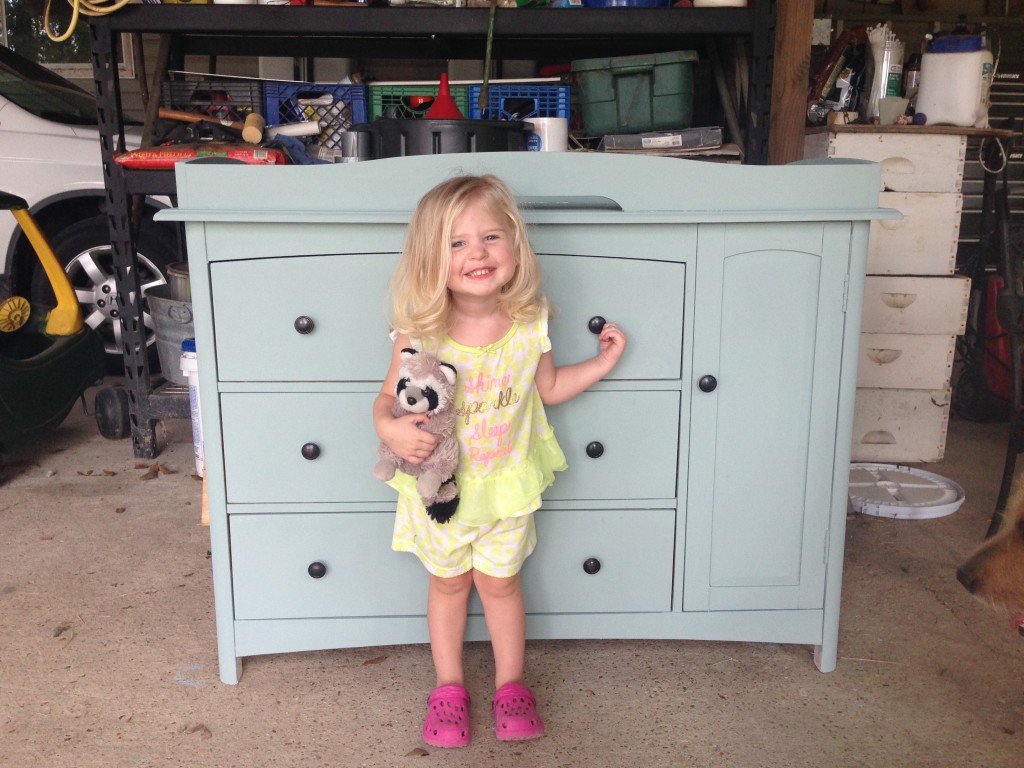
AFTER
Prep work: Cleaned the piece of dust and dirt
Paint: Two coats in Duck Egg Blue
Technique: Even brush strokes
Time for paint job: 1.5 hours
Result: Love it! My work is nothing to write home about; but I love the color, the work was easy and with the new knobs, this turned out to be a lovely, functional piece just in time for the new baby.
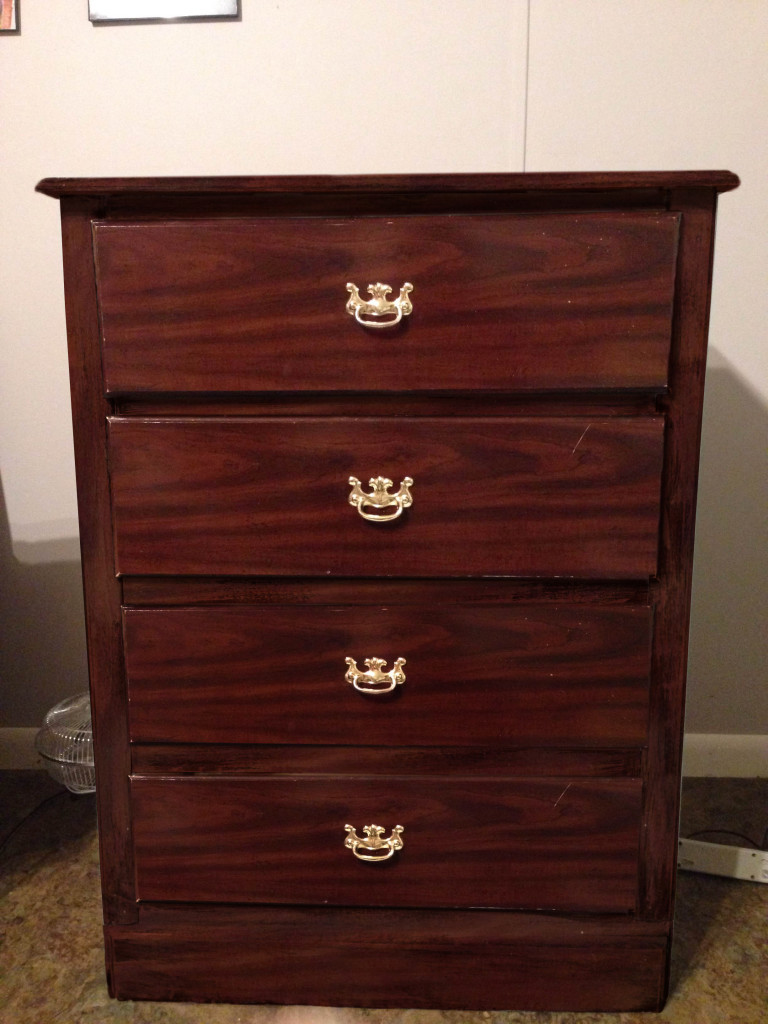
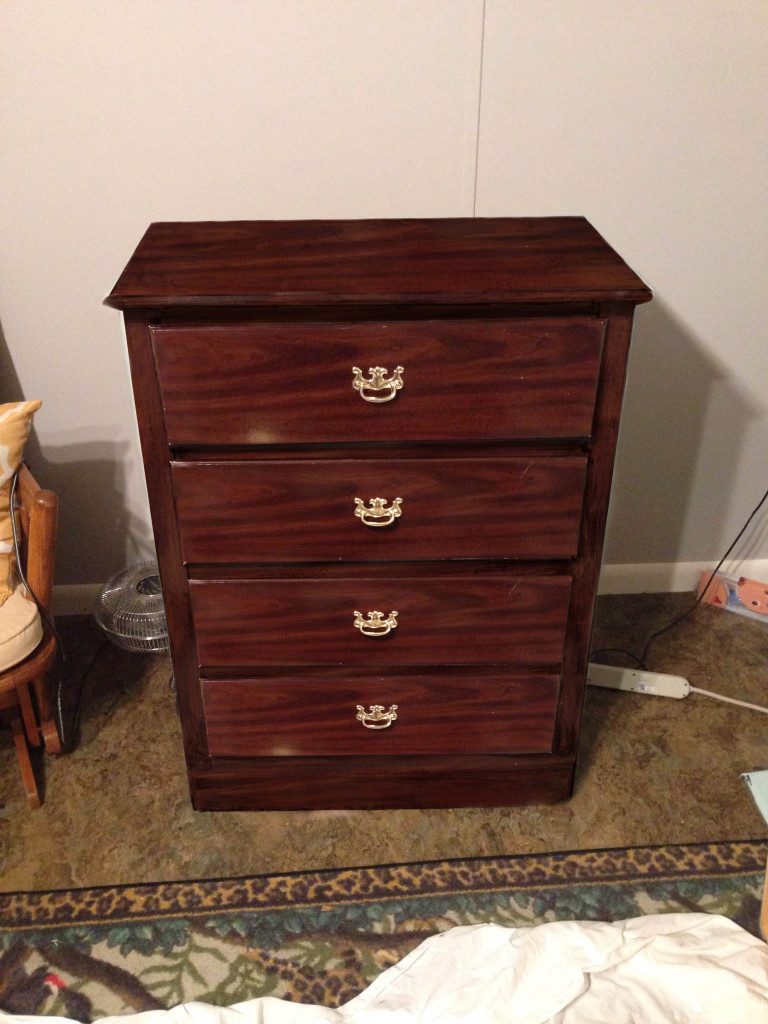
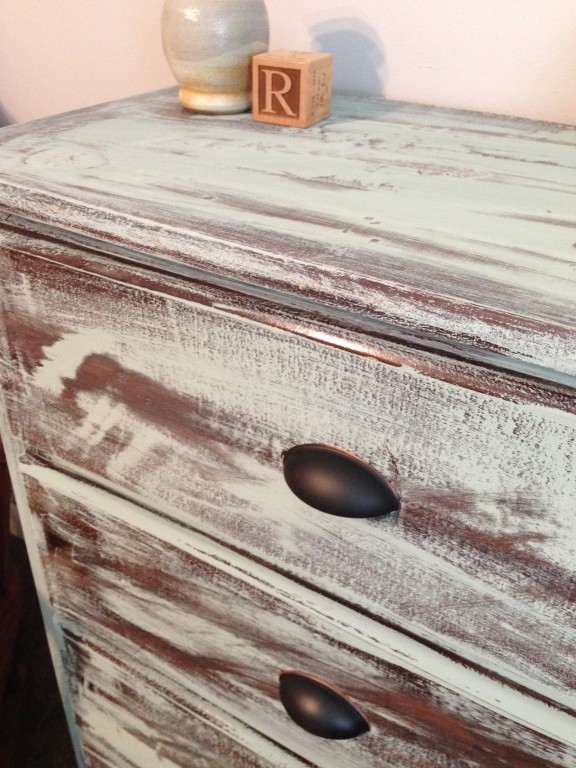
I still had half a can left, and I felt confident I had enough to do the dresser. Since it had a fab, fake wood finish (so cheap looking – I would absolutely would’ve had to sand it down and strip had I used regular paint), I thought perhaps I could create a “distressed” look this time, allowing the darkness to show through in places. I used the term “distressed” loosely here because I had no idea what I was doing, but it sounded cool. I did buy some 220 grit (fine) sand paper in case I needed it for my look…whatever that looked turned out to be (I’ve never sanded anything in my life)…here is the result:
BEFORE
AFTER
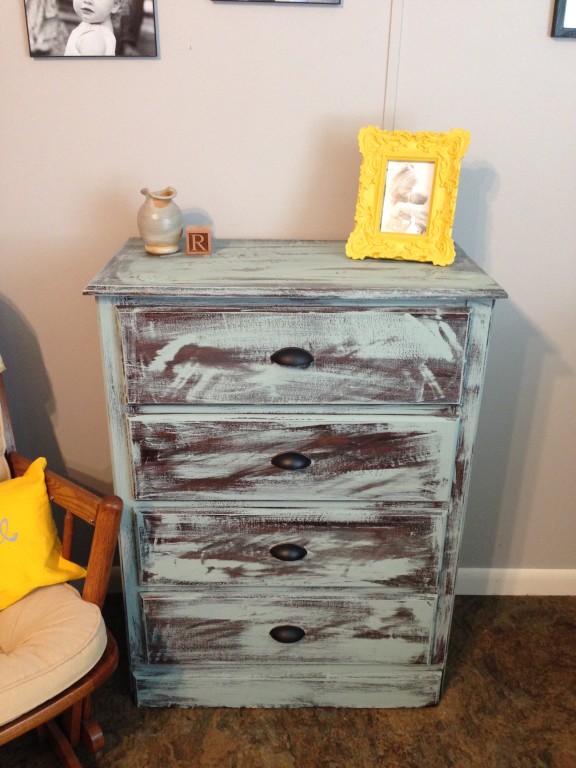
Prep work: Cleaned the piece of dust and dirt
Paint: One, uneven coat in Duck Egg Blue
Technique: Half-ass – I don’t know how else to describe it! I just pretended like I didn’t have enough paint and that I didn’t know how to paint. It was fun and took no time! Once it dried, I did sand a little bit here and there, to make it a little more uniform, but not too much.
Time for paint job: Less than 1 hour
Result: I’m sure Annie Sloan would scoff at my technique and I’m the first to admit that my work isn’t perfect, but compared to what this dresser was before — I love the result. And the effort was even less than that of the changing table – just the paint and the new knobs (also from Home Depot) – and voila a much prettier dresser for my daughter. I also like how I was able to achieve two different looks using one can of paint. I still have about 1/8 of a can left, so maybe I’ll redo a little cabinet of some sort one day…one day…
So there you have it! There are many ways to approach chalk-finish paint. If you have the time to do the research or take a class beforehand, that can only help you. However, if you’re short on time and brain space, you can also just go for it and still get great results!


