


When we bought our house a little over a year ago, I knew that we’d have our hands full and our hair speckled with paint. I’ve learned a few things along the way as we’ve painted one bedroom, two bathrooms, 3 vanities, a dining room, nearly all the trim in the house and 3 doors (only two bedrooms, one bathroom, one hallway, an entry way and 17 doors to go). Painting your house is a relatively inexpensive way to make a dramatic change to your home, but it can also be very overwhelming. I’ve come up with a few tips, some serious and some not so much, to help you on your painting journey.
Step 1: Pick A Color
 DO NOT, I repeat DO NOT go into a paint store a pick a color from the tiny swatches. Don’t do it. The only road this leads you down is the one that ends in disappointment. The colors in those tiny squares have pretty much zero bearing on what the paint color will look like on your actual walls. I typically start on Google, Houzz, and Pinterest to find colors I like. I’ve been known to Google things like “light purple grey.” Once you’ve found a few options, you must get samples and paint very large sections of your wall with them. I prefer to not put two colors next to each other and to make sure I pick spots where I can paint from the floor to about half way up the wall and between trim and a wall edge if possible. The color currently on your wall with throw you off so make sure you allow as little distraction as possible. One other trick I use when trying to decide between similar colors is the screenshot/collage method. I always buy Sherwin Williams paint so when I go to their website and put in a color, I take a screenshot of the color. I do that with a few colors I’m considering that often look very close to each other. Then, I put them in a collage using a photo app on my phone so that I can tell subtle differences in undertone. I also look at the entire paint strip for that color to get a better idea of what might show up on my wall. Remember that lighting will COMPLETELY change the way a paint color looks from room to room. That paint in a Pinterest pic of a living room with a 20 foot wall of windows will likely look quite different in your ranch style home.

One other trick I use when trying to decide between similar colors is the screenshot/collage method. I always buy Sherwin Williams paint so when I go to their website and put in a color, I take a screenshot of the color. I do that with a few colors I’m considering that often look very close to each other. Then, I put them in a collage using a photo app on my phone so that I can tell subtle differences in undertone. I also look at the entire paint strip for that color to get a better idea of what might show up on my wall. Remember that lighting will COMPLETELY change the way a paint color looks from room to room. That paint in a Pinterest pic of a living room with a 20 foot wall of windows will likely look quite different in your ranch style home.
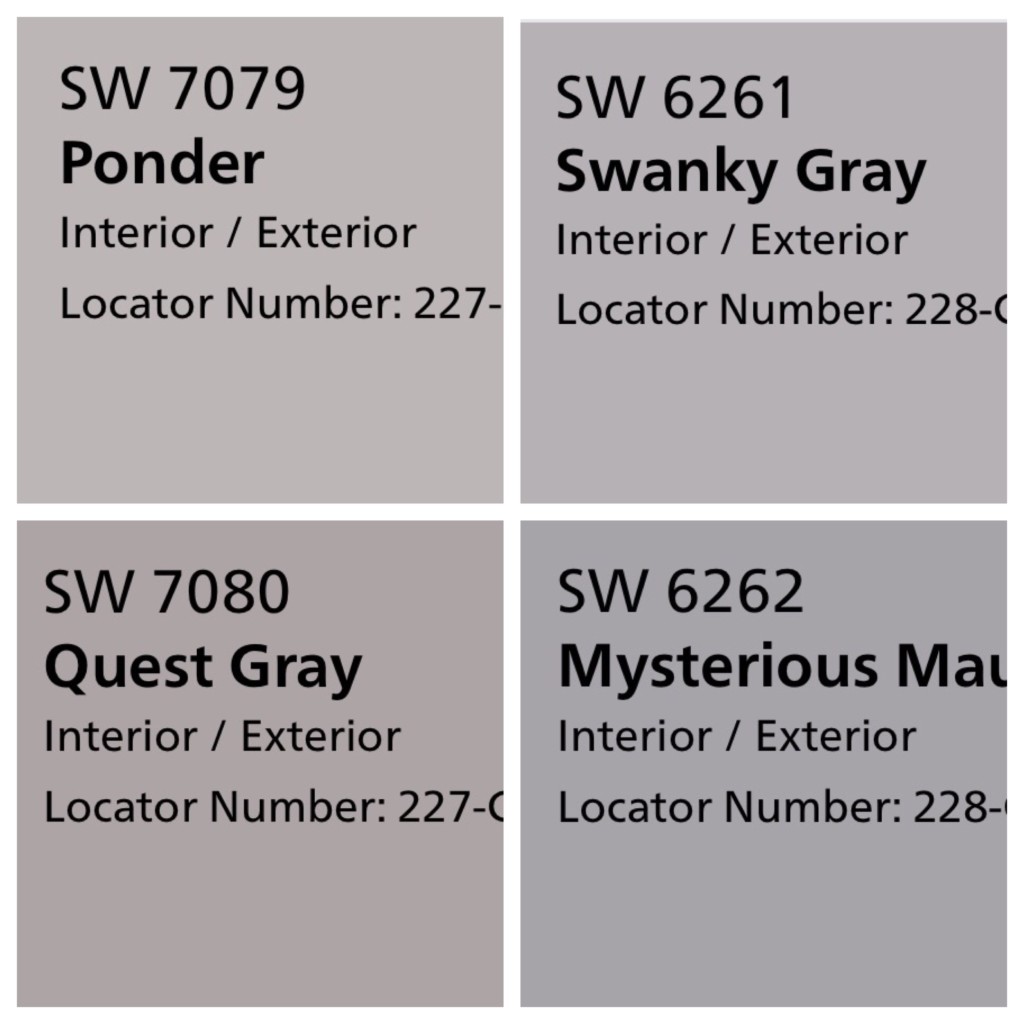 Also let’s talk about grey and greige. Grey is very popular right now. Grey is also a very difficult paint color, and there are something like a million articles written about choosing grey paint. Choosing a grey paint color might give you more grey hairs than that time your 2 year old dropped a bag of flour. When it comes to grey, it’s all about the undertones, baby. Blue, green, purple, and brown are common undertones for grey paint. One wrong choice and you come home from your honeymoon excited to see the bedroom your dad so graciously painted for you while you were gone only to find out it looks blue instead of grey. You can tell what undertones your chosen grey has by looking at the darkest color on the paint strip. Look at lots of pictures and buy lots of samples before you select a grey. In fact, paint the same color in several sections of your chosen room to see what it looks like at different times of day. Grey can be cool and striking or warm and welcoming if you pick a more greige option. A few fairly “safe” grey choices are Sherwin Williams Agreeable Grey, Benjamin Moore Revere Pewter, and Sherwin Williams Repose Grey. I’m also quite partial to Sherwin Williams Worldly Grey and painted my last house entirely with this color. While we’re talking colors, Sherwin Williams Alabaster is my go-to white for trim and cabinets. There are at least as many whites as there are greys, and it is equally overwhelming.
Step 2: Hire Someone to Paint Said Color on the Wall
Ok, so I’m only halfway joking. Painting can take a lot of time and commitment. If you have the money and don’t just love painting, I would argue that it’s 100% worth it to pay someone else to do your painting. This is not a cheap option, and I am a notoriously cheap person. I only use this option for complicated rooms like a full bathroom or a room with exceptionally tall ceilings. If you go with this option, feel free to stop reading now. Otherwise, proceed to Step 3.
Step 3: Do Some Research & Buy Supplies
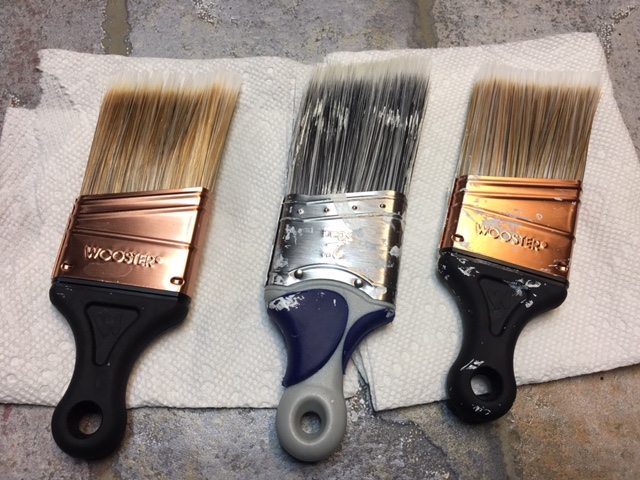 I’m combining these because they sort of go together. If you don’t have a lot of experience painting whatever it is you’re planning to paint, it’s wise to check out Pinterest or other corners of the internet for videos and tutorials. Before we started painting our interior doors, I had no idea that there is a particular way that doors should be painted. Thanks to Pinterest, now I do. My doors are thankful (I guess). This will also help you to determine what types of supplies you need. My best piece of advice here is to buy high-quality brushes and paint. I’ve tried to skimp and save on this part, and I always regret it. Good brushes make your paint go on with more precision and ease. I like the angled ones with the little nubby handle that fits right into the groove between your thumb and pointer finger. Good paint is the difference between 2 coats and seventy billion coats. And ain’t nobody got time to paint seventy billion coats. As I mentioned previously, I’m a big Sherwin Williams fan. The paint goes on the walls like butter, and I recently covered bright orange red awfulness with white in only two coats using my trusted Super Paint (no primer needed). Sherwin Williams paint isn’t cheap, but they have frequent 30% off sales, a Paint Perks club that offers coupons, and various coupons can be found from West Elm and Pottery Barn.
Step 4: Make Sure Your iPad is Charged & Your Children Have Full Bellies
Maybe you’re a better parent than I am, but painting days mean that my kid gets extra screen time. It’s really hard to make progress and avoid paint lines when you’re stopping every few minutes due to your kids wanting to help paint or asking for a sandwich. They need to be full and distracted. Even better, find a friend or grandparent to take them for the day. Painting takes a fair amount of time and concentration, and you’ll be glad to be able to cruise along without stopping.
Step 5: Prep Your Walls/Surfaces
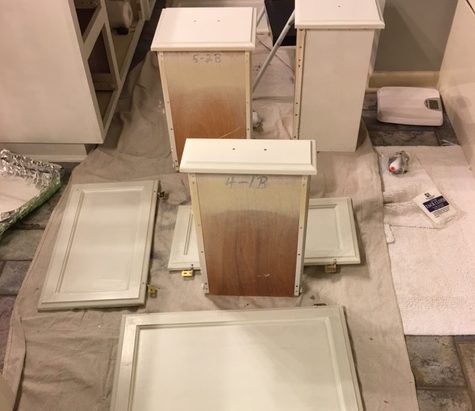
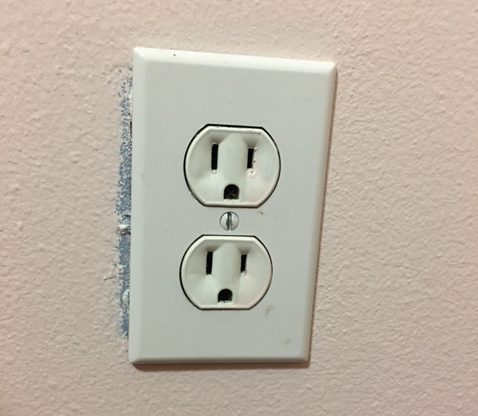 If I were a professional painter, I would do lots of sanding and filling holes and making sure that my surface is in perfect condition. I’m not a professional painter. I’m a mom trying to cover up ugly off-white trim. I do try to give whatever surface I’m painting a decent scrub with a wet washcloth. If it’s really bad, I might even break out the magic eraser. But the other holes and blemishes are just character as far as I’m concerned. The exception is cabinet doors. Those I typically sand first. Covering floors is usually pretty wise. I rotate between my reusable canvas drop cloth and the throw away plastic ones. Then there are those pesky outlet covers and doorknobs and the like. You should probably take those off (Tip if you decide to leave them on and do what I did below: Buy a jumbo size outlet cover. Problem solved). I’ll let you decide if you want to be more like a professional painter or a mom on a mission.
Step 6: To Tape or Not To Tape
I hate painters tape. It’s expensive and it takes forever to put down perfectly, and half the time the paint bleeds under it anyway. I’ve found that after watching a few videos on how to cut in (paint edges) without tape, I was able to paint a much straighter line without using tape. I use tape in certain circumstances, but most of the time, painting without tape is my version of living on the edge. If the thought of this terrifies you, there are lots of videos on how to keep paint from bleeding under tape. You should probably watch them. One tip I do have for using tape is to always take it off while the paint is still wet. If your paint has already dried before you take the tape off, you can paint along the edge with fresh paint and then pull it off.
Step 7: Actual Painting, Finally
 You would think this is the part where I would type out lots of advice. But really, I’ll just say, go back to your research. Google “How to Paint [whatever it is you’re painting]” and do what it says. Pay attention to things like the best way to hold the brush and roller techniques. If you’re using a new roller, wrap it in painters or masking tape before using it the first time to pull off any loose fibers. This article from The Family Handyman has lots of excellent tips and videos if you’re using a roller and the site has many more articles on other painting techniques. Also, The Family Handyman magazine is full of awesome ideas and makes a great gift for the homeowners in your life. Another tip I’ve found that helps me avoid tracking paint all over my house is to wear socks while I’m painting and standing on the floor covering. If I need to leave the room for any reason, I take the socks off at the edge of the drop cloth then put them back on when I return. Voila! No white toe prints down my hallway! I also keep a wet washcloth nearby for the occasional mishap.
Step 8: Cleaning Up
This is a decent place to let the kids join in. I have a few little tips that make consecutive days of painting a little easier in this department. If I’m using a paint tray, I don’t buy lots of plastic liners. I usually buy one and then line that with aluminum foil each day. Sometimes I just put new foil over the last day’s dried paint then I throw it all out when my project is done. You can also put paint brushes in baggies and store them in the refrigerator overnight so you don’t have to clean them each day. However, this tip does not work if you leave the brushes in the refrigerator for a few months. Not that I have any experience with that. Oh, and save some time to clean up your children and your pets who will inevitably brush up against wet paint at some point during the process.
Step 9: Admire Your Work, Take a Long Bath & Drink Some Wine
Because painting is hard, y’all. Especially with kids.
SaveSave


